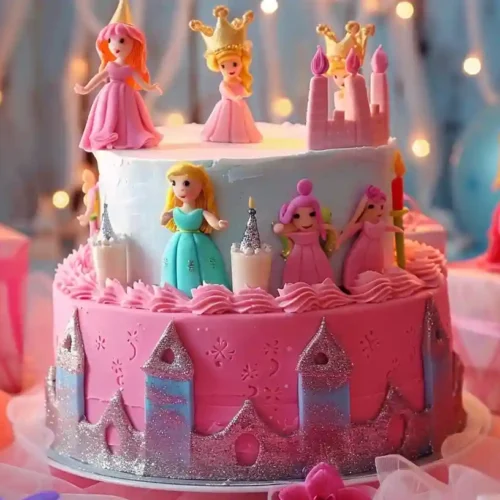
Princess Birthday Cakes: Easy DIY & How-to Tips!
Explore enchanting Princess Birthday Cakes with easy DIY ideas, tips, and inspiration to make your celebration magical and memorable!
Ingredients
- 3 cups all-purpose flour sifted
- 2 ½ teaspoons baking powder
- 1 teaspoons baking soda
- ½ teaspoons salt
- 1 cup unsalted butter softened
- 2 cups granulated sugar
- 4 large eggs room temperature
- 1 tablespoon vanilla extract pure
- 1 ¼ cups whole milk room temperature
- As needed drops food coloring – pink pink, purple, etc.
- 4 cups buttercream frosting – for filling and crumb coat
- 1 pound fondant white, for covering
- As needed sheets colored fondant for decorations
- As needed teaspoons edible glitter optional
- As needed pieces princess-themed toppers optional
Instructions
- Preheat oven to 350°F (175°C). Grease and flour two 9-inch round cake pans.
- Mix dry ingredients: In a bowl, whisk flour, baking powder, baking soda, and salt.
- Cream butter and sugar in a large bowl until light and fluffy. Add eggs one at a time, then mix in vanilla.
- Alternate adding flour and milk, mixing until just combined. Add food coloring if desired.
- Divide batter evenly between pans and bake for 40–45 minutes, or until a toothpick comes out clean. Let cool.
- Level the cakes if needed. Layer with buttercream between each tier.
- Cover the cake with buttercream to create a smooth surface.
- Roll out fondant and drape it over the cake. Trim edges and smooth it out.
- Decorate with edible glitter, fondant designs, and princess toppers.
- Chill slightly before serving or display immediately at the party.
Notes
For best results, bake the cake layers a day in advance and chill them before decorating.
Use gel food coloring for more vibrant colors without thinning the batter.
A rotating cake stand makes decorating much easier and more precise.
Fondant can dry out quickly, keep unused portions wrapped in plastic.
To save time, you can use a boxed cake mix as the base and focus on custom decorations.
Store the finished cake in a cool place, ideally in the fridge if not served the same day.
Let the cake come to room temperature before serving for the best texture and flavor.